Printing Rock Photo Slates
by Longforte Team
4th May 2023
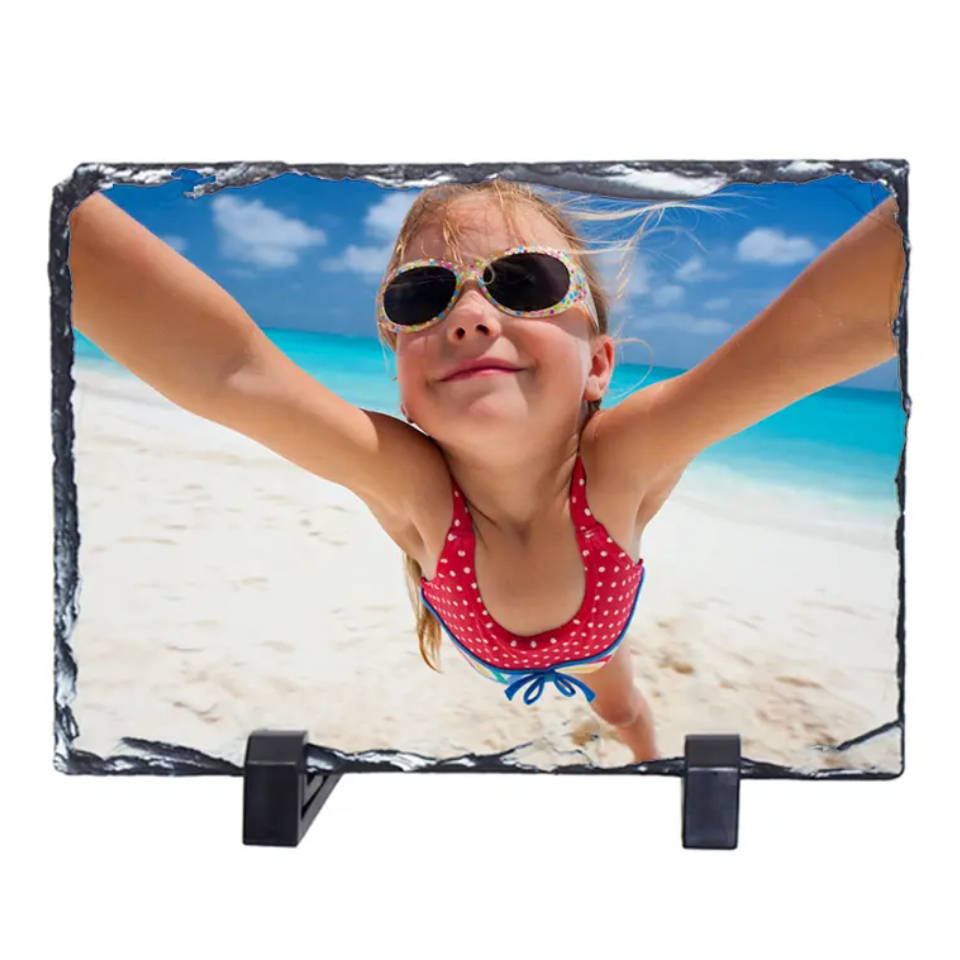
Sublimation rock photo slates are a hugely popular product for our customers to print onto as they give excellent colour reproduction, are heavy and sturdy and the natural material gives them a unique feel compared to glass or MDF frames. Here is a step-by-step guide to help you get started with sublimation printing onto rock photo slates. Please note that these can require a bit more adjustment to get the setup correct for your heat press etc. but once you master it you'll be unstoppable!
Materials you'll need:
2. Thin silicone mat - 1.5mm to 2mm thick (Important: Please note that this not the same as the thick silicone mat that comes with your heat press)
5. Heat press
8. Soft cloth or paper towel
Step 1: Design your image
Using a graphic design program, create or import the design you wish to print on your photo slate. Make sure the image is at a high enough resolution for printing onto the keyring.
Step 2: Print your image
Print your image and make sure to print it as a 'Mirror Image' (so that it appears as reverse to go on the right way round when pressing onto the metal insert) onto sublimation paper using sublimation ink. Make sure the ink is dry before proceeding to the next step.
Step 3: Preheat the press
Preheat your heat press to the recommended temperature for slate sublimation (usually around 200°C / 392°F).
Step 4: Tape the image onto the photo slate
Place the sublimation paper with your design face down onto the white part of the sublimation slate which is the coated side. Use heat-resistant tape to secure the edges of the paper to the photo slate, making sure the design is centered and tightly wrapped.
Step 5: Place and press the slate
Place the thin silicone mat on top of the thick silicone mat of your heat press. Then place the rock slate with the design attached onto the press with the printable side facing down so that you will be heating the back of the slate. Some suppliers will advise you print face up but we and many of our customers have found the face down method to be more reliable and consistent. The thin silicone mat is very important as it ensures the slate is pressed down into the design to get into every part of the printable surface.
Step 7: Remove the paper
After the time is up, carefully remove the photo slate from the press using protective heat gloves. Remove the tape and discard the sublimation paper.
Step 8: Inspect the slate
Inspect the slate for any defects or smudging. If the image appears to be incomplete or the colors are off, you may need to adjust the temperature, pressure, or time on your heat press.
There you go! An amazing printable photo item that is stunning, different and something we know our customers love!