Longforte Team
21 Jan 2024
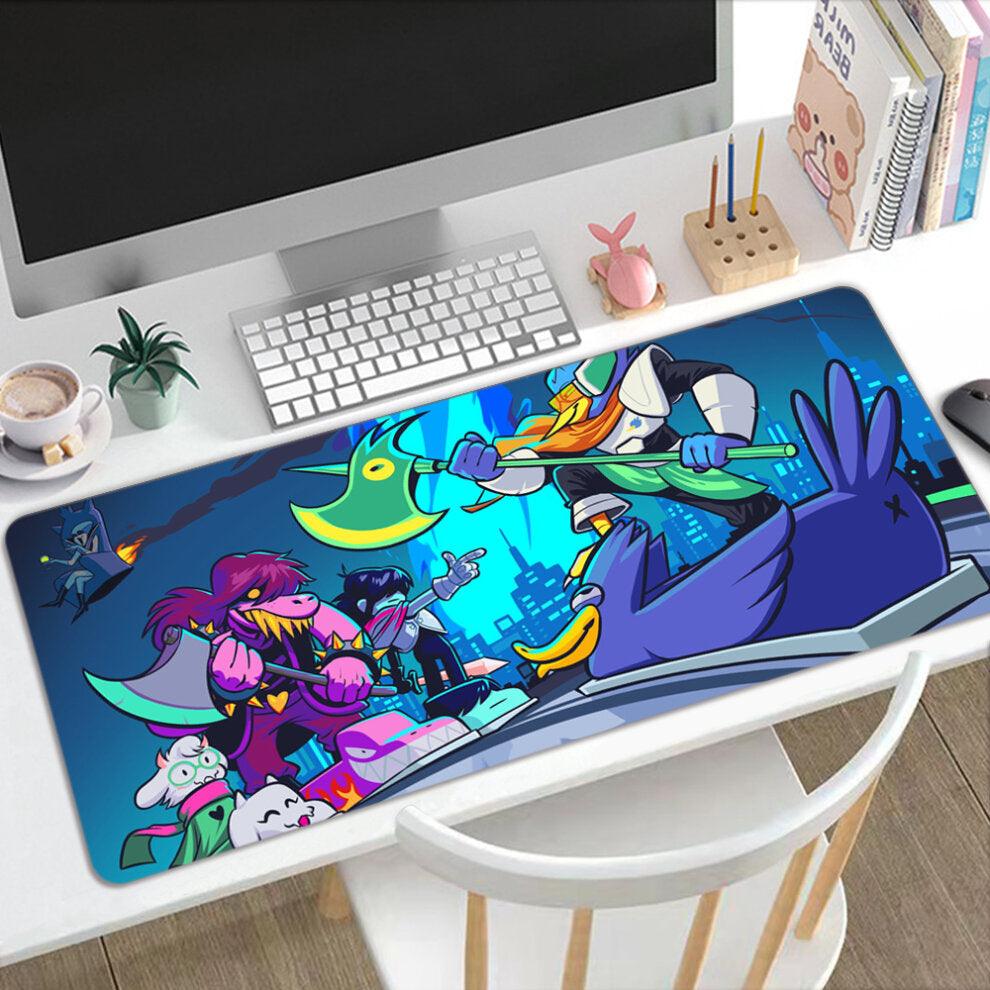
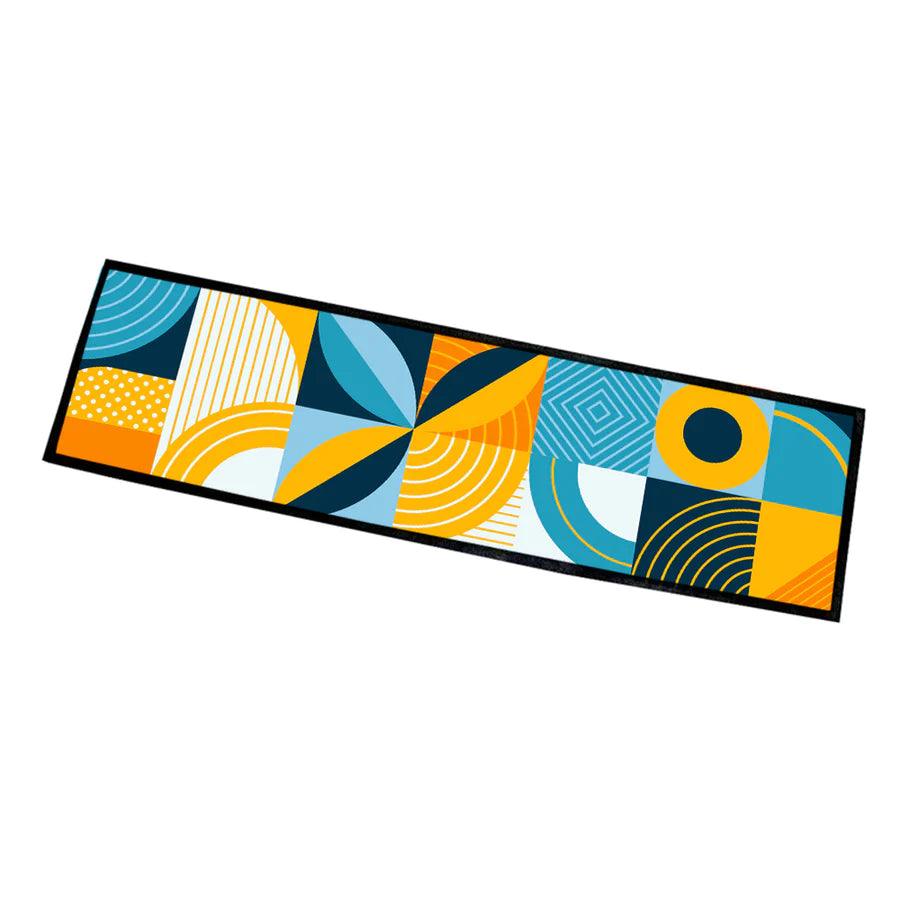
Our sublimation gaming pads are amazing products that offer a large canvas for you to display your best colourful and eye-catching designs. We have customers who use them for boardgames, computer gaming as well as even using in car workshops to place their tools on a branded mat! Sublimation printing offers a fantastic way to customise these gaming pad and what is even better, is that these are almost no different to pressing sublimation mousepads as they are made out of similar materials. In this step-by-step guide, we'll walk you through the process of printing onto sublimation gaming pads to create a unique and vibrant design.
Materials Needed:
- Sublimation-ready gaming pad (see our available products here)
- Sublimation printer
- Sublimation ink
- Heat-resistant tape
- Sublimation transfer paper
- Heat press
- Protective paper or silicone sheet
- Heat-resistant gloves
Step 1: Design Your Artwork
Use graphic design software to create your desired artwork. Ensure that the dimensions match the size of your gaming pad. Consider incorporating elements that enhance the gaming experience or reflect your personal style.
Step 2: Mirror the Image
Before printing, mirror your design horizontally. This is crucial for sublimation printing, as it ensures that the image transfers correctly onto the gaming pad.
Step 3: Load Sublimation Printer
Load the sublimation transfer paper into your sublimation printer, making sure to follow the printer's guidelines for paper loading. Adjust print settings to match the paper and image specifications.
Step 4: Print Your Design
Print your mirrored design onto the sublimation transfer paper. Ensure that your printer is using sublimation ink, as standard inkjet ink will not work for sublimation.
Step 5: Prepare the Gaming Pad
Place the gaming pad on a clean, flat surface. Ensure that it is free of dust or debris that could affect the sublimation process. For our larger pads we recommend pre-pressing them especially if they have been stored rolled up. This prevents creases and gives a much better finish overall!
Step 6: Secure the Design
Position the sublimation transfer paper with the printed design onto the gaming pad. Use heat-resistant tape to secure the paper in place, ensuring that it lays flat and does not shift during the transfer process.
Step 7: Preheat the Heat Press
Preheat your heat press to the recommended temperature for sublimation transfer onto gaming pads. Refer to the instructions provided by the manufacturer of your sublimation ink and gaming pad for specific temperature recommendations.
Step 8: Pressing Process
Place the gaming pad with the secured sublimation transfer paper onto the heat press. Cover the entire assembly with protective paper or a silicone sheet to prevent any ink from getting onto the press.
Step 9: Apply Heat and Pressure
Close the heat press and apply the recommended pressure for the specified duration. Follow the guidelines provided by the sublimation ink and gaming pad manufacturers for accurate heat and pressure settings.
Step 10: Cooling and Unveiling
After the pressing process is complete, carefully remove the gaming pad from the heat press. Allow it to cool completely before peeling off the sublimation transfer paper to reveal your vibrant, customized design.
Congratulations! You've successfully printed your own custom design onto a sublimation gaming pad. Enjoy your personalised gaming experience, and feel free to experiment with different designs and creative ideas to make each gaming session uniquely yours.


